This article outlines the process for assigning CLE Credits for Box Sets and CDs
Go to the CLE tab
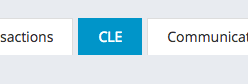
From the profile of the contact you wish to award credits for, click on the CLE tab
Click on Award CLE Credits
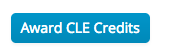
This button is located at the top of the CLE tab
Search for the product
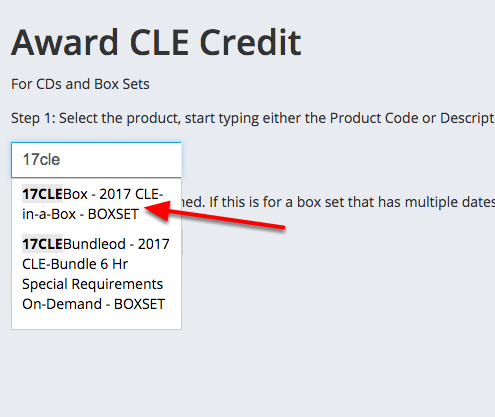
On the Award CLE Credit screen, start typing in the top box to search for the product. You can type the product code, the name of the product or BOXSET to find all box sets. Click on the product you want from the list as shown by the red arrow in the screenshot.
Enter the date earned

Enter the date earned in the 2nd box. Choose a date that covers most of the credits you want to award, you will have a chance to change it on the next screen. Once you have entered your date, click next.
Review the credits to be awarded
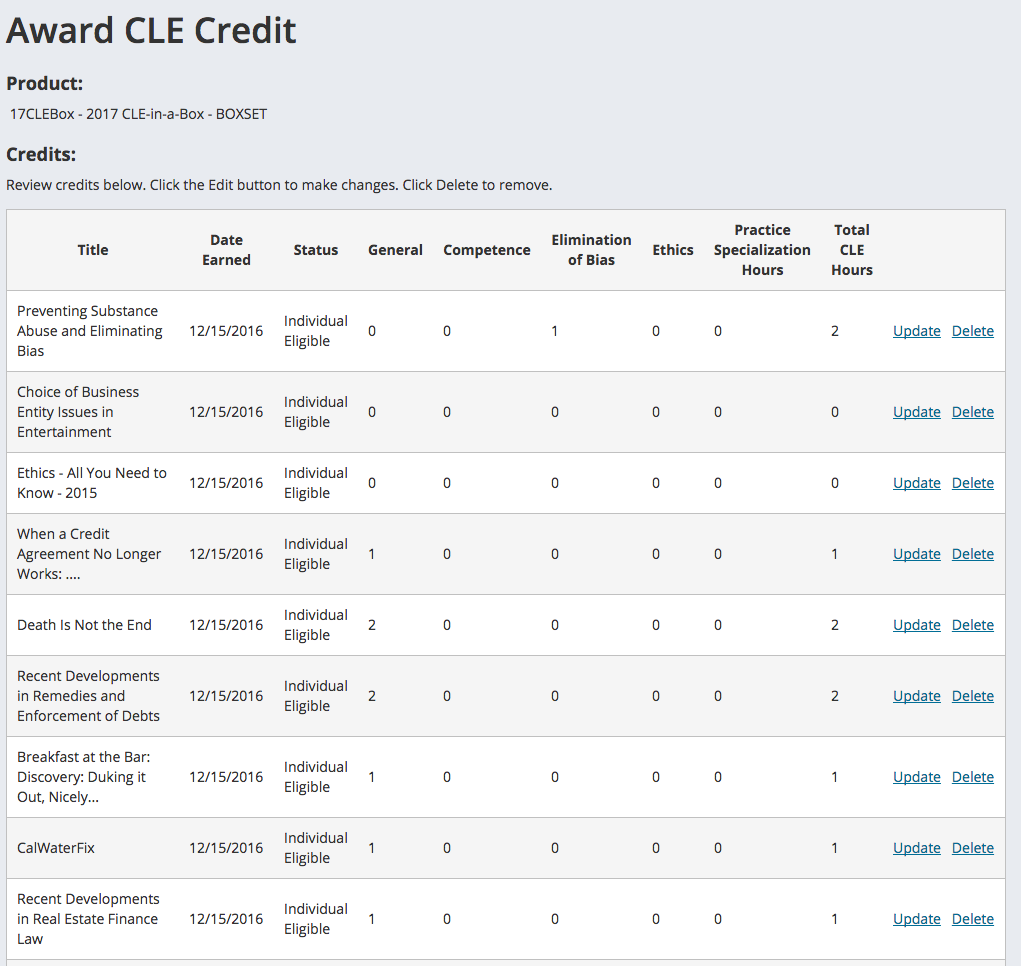
This screen will list out all of the components of a box set. If you are awarding credit for just one CD, you will only see one entry in the list.
Delete any items not to be awarded

If you do not want to award credit for a particular item because the customer did not indicate they viewed it, just hit the delete button on that line item to remove it.
Edit any items if necessary

If you need to make changes to the amounts awarded for any items, press the Update link on that line item.
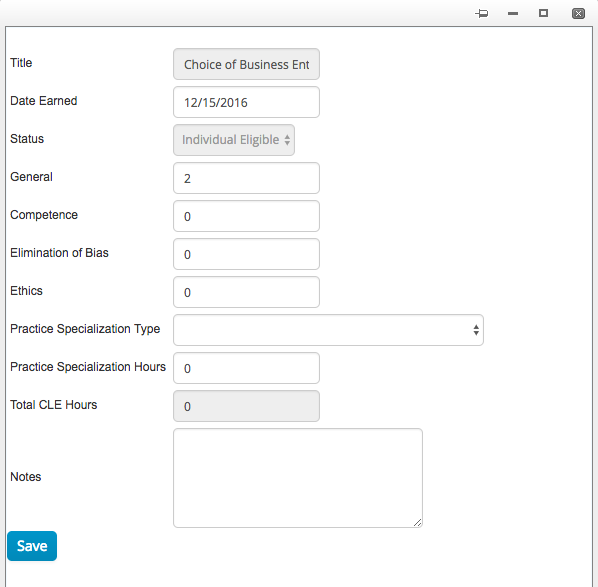
A screen pops up allowing you to edit the item. Make your changes and press Save. the total CLE hours will be calculated for you when you press save.
Awarding the Credits
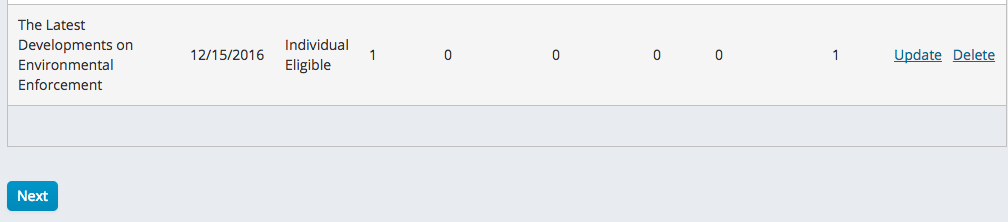
Once you have reviewed the list and made your edits, you are ready to award the credits.
IMPORTANT: This is the screen to review your credits to be awarded. Once you press next, the credits are awarded and any clean up would have to be done record by record. Be absolutely sure that the information on this list is accurate before pressing next.
Once you have double and triple checked the information, press next.
Confirmation
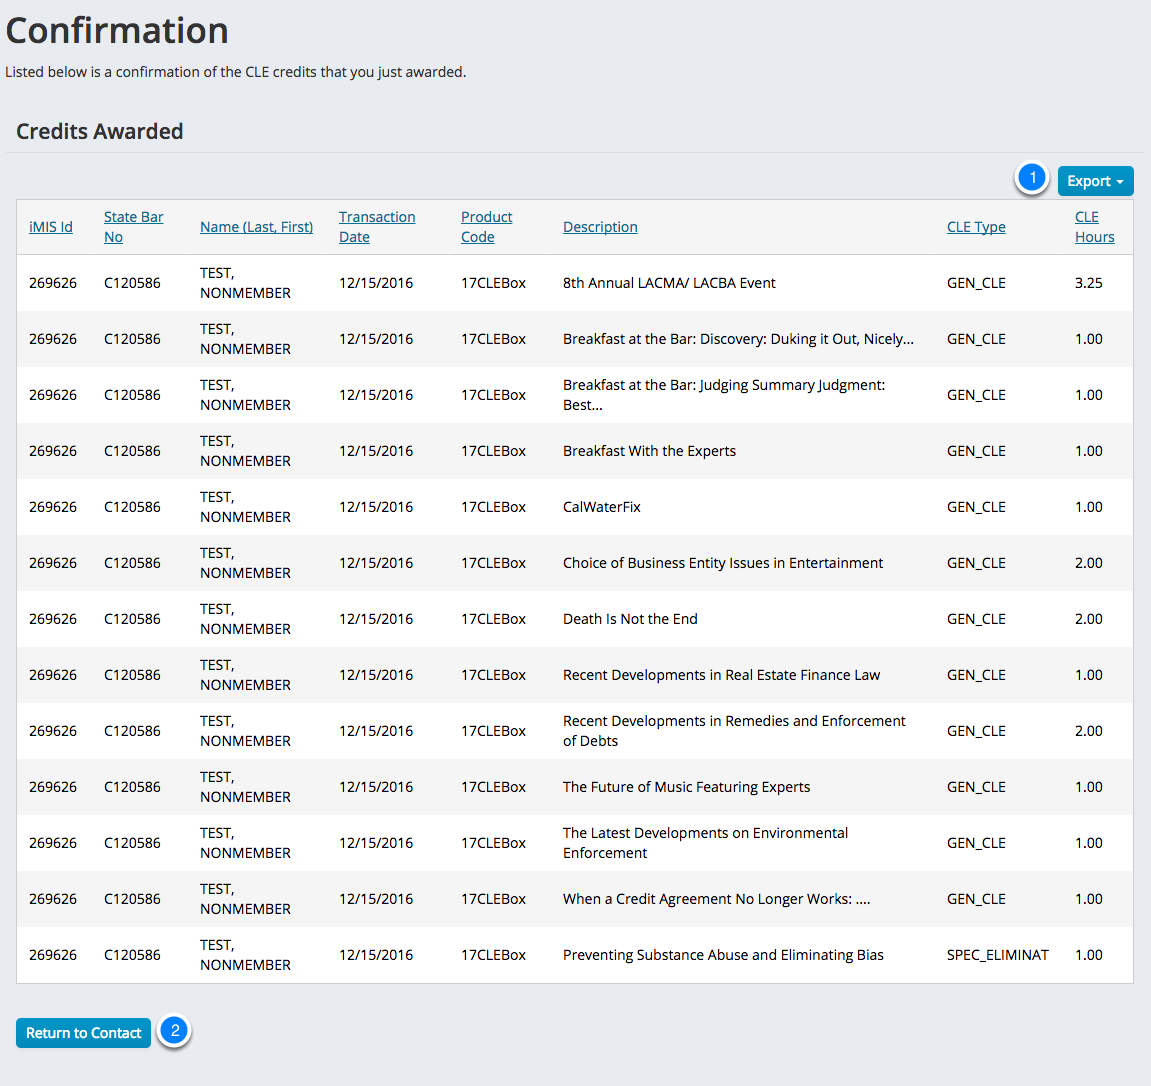
Once you hit next, the system creates the CLE credits. The confirmation page shows you the credits that were created. You can export the list using the Export button (1). When you are done, press Return to Contact (2) to return to the contact's profile.
Comments
0 comments
Please sign in to leave a comment.