From the Project List, click the link at the top of the page to select new project

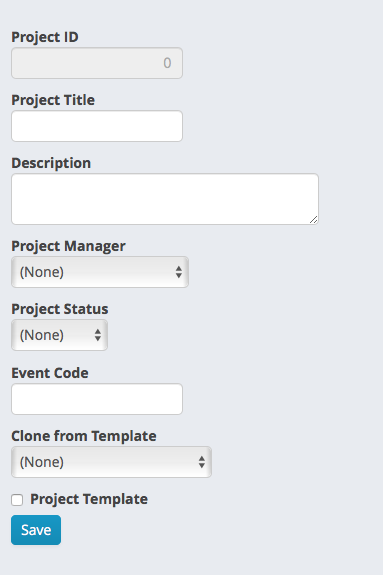
You will be taken to the project overview page. In the top left corner of the page, complete the project information.
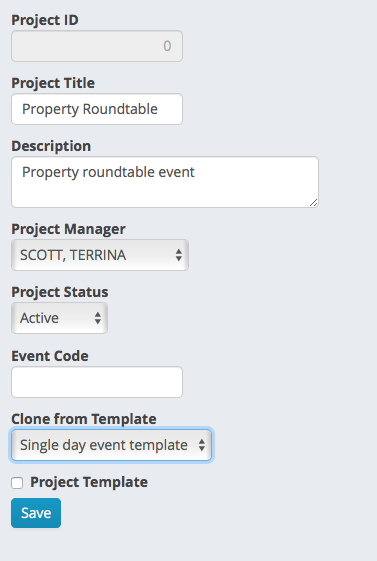
This is an example of the project information that has been filled out.
Field definitions
| Field | Purpose |
|---|---|
| Project ID | (Read only) This will be the unique identifier for the project. The screenshot shows a 0 since this project has not yet been created, once it has been created, the system will generate a project ID which will display here. |
| Project Title | Enter a short title for the project |
| Description | (Optional) enter more descriptive text about the project |
| Project Manager | Select the person responsible for ensuring that the tasks in the project are complete. Usually this will be the project administrator |
| Project Status | Select a status for the project (usually Active). The other status choices are (Pending - the project is created but not ready to start yet) or Complete (This project is now complete) |
|
Event Code |
Enter the iMIS Event code once the event has been created. This is necessary for the activation of the event. It is not needed when you create the project. |
| Clone from Template | Select a template to clone from. Templates have roles and tasks associated with them. Choosing a template will copy the roles and tasks into your new project when you save. |
| Project Template | If you are creating a new template, even one cloned from another template, check this box. Do not check this box if it is an actual project. |
Once you have completed the project information. Press save. If you have chosen a template, your roles and tasks will be copied to your new project.
Comments
0 comments
Please sign in to leave a comment.